how to grow corn in a pot – [Beginners Guide]

Hey there! Have you ever thought about growing your own food at home? It’s a great way to save money on groceries and have fresh produce right at your fingertips. Plus, it’s a fun hobby and a great way to get your hands dirty! In this article, I’ll be sharing my personal experience on how to grow corn in pots.
Corn is a staple food in many countries and a great crop to grow at home. The best part is that you don’t need a big garden or farm to grow it. With just a few pots and some basic supplies, you can easily grow corn in your own backyard or on your balcony.
Growing corn in pots is a great option for those with limited space, or for those who want to try growing something new. It’s also a great way to get started with gardening and learn about growing plants. So, let’s get started and see how you can grow your own corn in pots!
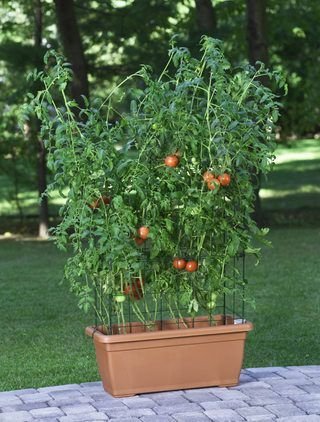
Pot or container selection
To grow corn in pots at home, you will need a pot that is deep and wide enough to accommodate the roots and the growing stalk of the plant. A pot that is at least 12 inches deep and 12 inches wide should suffice for one plant.
The size of the pot will depend on how many plants you want to grow and the space you have available. For each plant, you will need a separate pot. If you have limited space, you can opt for smaller pots and grow only one or two plants.
In terms of pot construction, it is recommended to use a durable, lightweight, and permeable material such as plastic or terracotta. This allows for adequate drainage and prevents the soil from becoming waterlogged, which can lead to root rot.
Additionally, make sure the pot has sufficient holes at the bottom for adequate drainage. If the pot doesn’t have holes, you can drill some yourself or place some rocks at the bottom to help with drainage.
In conclusion, when choosing a pot for growing corn, consider the size and capacity, as well as the material and construction for optimal growth. With the right pot, you’ll be well on your way to growing delicious corn at home!
Make suitable soil mix
To grow corn at home, you will need a soil mix that is rich in nutrients and well-draining. The ideal soil mix should have a combination of compost, peat moss, and vermiculite or perlite.
Corn plants require soil that is rich in nitrogen, phosphorus, and potassium for optimal growth. The compost provides the necessary nutrients, while the peat moss helps to retain moisture. Vermiculite or perlite helps to improve drainage and prevent the soil from becoming waterlogged.
The correct soil composition is essential for the healthy growth of your corn plants. A soil mix that is too heavy or has poor drainage can lead to root rot and other problems. It is recommended to use a soil mix specifically formulated for vegetables or to make your own using the above ingredients.
When planting your corn seedlings, make sure to firmly press the soil around the roots and water thoroughly. This will ensure that the seedling has good contact with the soil and that the soil is moist.
In conclusion, to grow corn at home, you need a soil mix that is rich in nutrients and well-draining. A correct soil composition is essential for optimal growth and will ensure that your corn plants thrive.
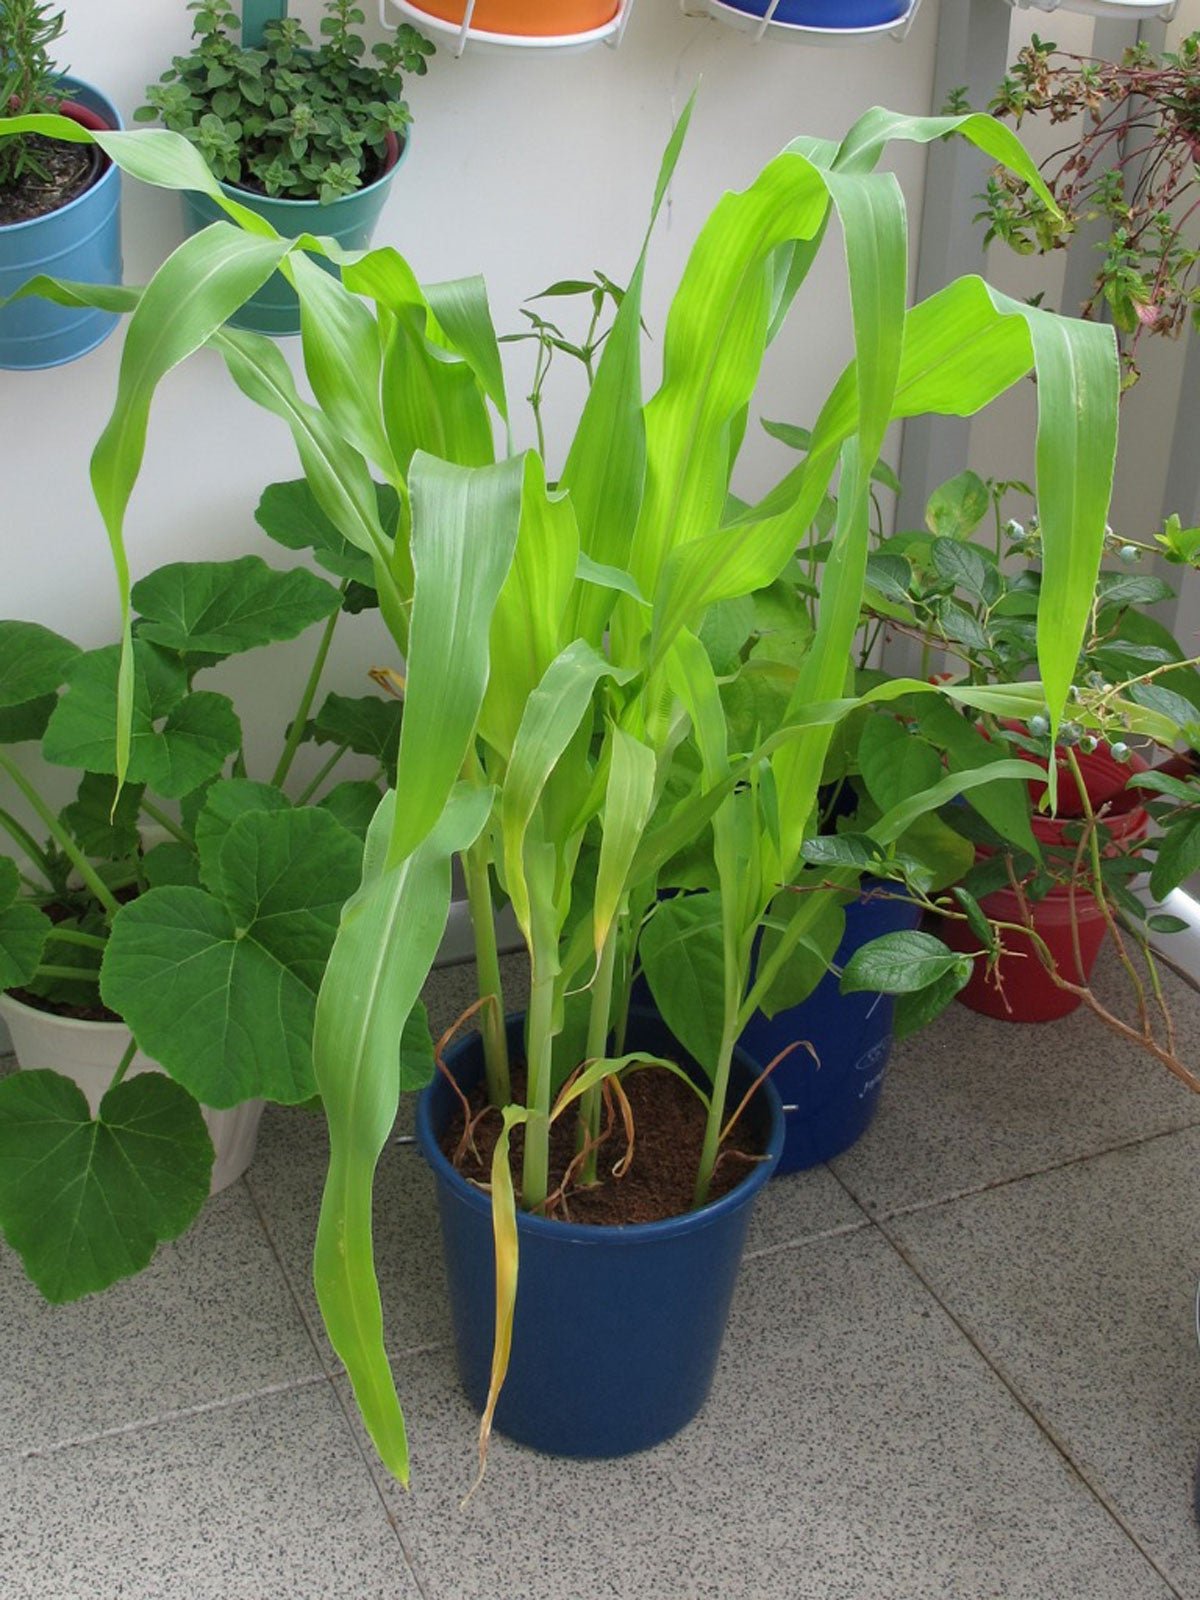
How to plant the corn?
Growing corn in a pot at home is easy and can be done with just a few simple steps. Here’s a step-by-step guide on how to plant corn in a pot:
- Choose the right pot – As explained in a previous answer, choose a pot that is at least 12 inches deep and 12 inches wide. Make sure the pot has holes for adequate drainage and that you have a good quality soil mix ready.
- Prepare the soil mix – Fill the pot with the soil mix and gently firm it down around the edges.
- Plant the seeds – Sow 2-3 seeds per pot about 1 inch deep and 4-6 inches apart. Cover the seeds with soil and water thoroughly.
- Provide support – As the plants grow, they will need support to prevent them from falling over. Place stakes or a trellis near the plants.
- Water and fertilize – Keep the soil moist but not waterlogged. Water the plants regularly and fertilize every 2-3 weeks with a balanced fertilizer.
- Harvest the corn – Corn is ready to harvest when the kernels are plump and the silks have turned brown. Pull the entire cob from the plant and enjoy your homegrown corn!
Following these steps will ensure that you have a successful crop of corn in your pot. Just remember to be patient as it may take a few months for the plants to mature and produce kernels.
How to care for corn?
Watering Requirement
Corn plants need consistent moisture to thrive. Make sure to water the soil regularly and keep it moist but not waterlogged.
You can use a watering can or a watering hose to water your plants. Water deeply and thoroughly so that the water reaches the roots. Avoid getting water on the leaves as this can cause diseases.
It is important to check the soil moisture level regularly, especially during hot weather, to make sure the plants are getting enough water. If the soil is dry to the touch, it is time to water.
Fertilizer Requirement
Corn plants are heavy feeders and will benefit from regular fertilization. Use a balanced fertilizer every 2-3 weeks to provide the necessary nutrients.
You can use a liquid fertilizer or a granular fertilizer. Follow the instructions on the fertilizer label for the recommended amount and frequency of application.
Sunlight Needs
Corn plants need full sun to grow and produce kernels. Make sure to place the pot in a sunny location where the plants will receive at least 6 hours of direct sunlight each day.
If you live in a hot climate, it is a good idea to provide some shade during the hottest part of the day to prevent the plants from getting sunburned.
Pruning & Training
As the plants grow, you may need to prune the leaves and stems to maintain a compact shape. Cut off any dead or yellow leaves and stems that are crossing over or rubbing against each other.
You may also need to tie the plants to stakes or a trellis for support as they grow taller. This will prevent them from falling over and will allow for better air circulation.
Other Care
To keep your corn plants healthy, it is important to monitor them regularly for signs of pests or diseases. Check the leaves and stems for any unusual markings or discoloration.
If you see any signs of pests or diseases, take action immediately to prevent it from spreading to the rest of the plants. You can use organic methods such as insecticidal soap or neem oil to treat the affected plants.
In conclusion, to care for corn in a pot, you need to provide consistent moisture, regular fertilization, full sun, and pruning and training as needed. Regular monitoring for pests and diseases is also important to maintain healthy plants.
Common problems
Pests and Insects
Corn plants are susceptible to various pests and insects, including aphids, earwigs, cutworms, and corn borers. These pests can damage the leaves, stems, and kernels, reducing the plant’s health and yield.
To prevent pest and insect damage, it is important to regularly monitor your plants and take action immediately if you see any signs of infestation. You can use organic methods such as insecticidal soap or neem oil to treat affected plants.
Diseases
Corn plants are also susceptible to various diseases, including leaf blight, smut, and corn earworm. These diseases can cause leaves to yellow and drop, reduce the plant’s health, and affect the quality of the kernels.
To prevent disease, it is important to provide proper care for your plants, including providing adequate moisture, sunlight, and nutrients. It is also important to avoid overhead watering and to remove any diseased leaves or stems promptly.
Poor Production
If your corn plants are not producing well, it may be due to a lack of proper care, including insufficient sunlight, moisture, or nutrients. It may also be due to overcrowding, where the plants are too close together and competing for resources.
To improve production, it is important to provide proper care for your plants, including adequate sunlight, moisture, and nutrients. You may also need to thin out the plants to give each one enough space to grow and produce.
Other Issues
Corn plants grown in pots may also face other issues, such as stunted growth, yellowing leaves, and poor root development. These issues can be caused by various factors, including improper soil composition, root rot, or lack of nutrients.
To prevent these issues, it is important to provide proper care for your plants, including using the correct soil mix, avoiding overwatering, and providing adequate nutrients. If you are facing a specific issue, it is best to consult a gardening expert for advice.
In conclusion, corn plants grown in pots can face various problems, including pests and insects, diseases, poor production, and other issues. To prevent and address these problems, it is important to provide proper care and attention to your plants, including adequate sunlight, moisture, nutrients, and monitoring for signs of trouble.
Harvesting & storing homegrown corn
Harvesting
Corn is ready for harvesting when the kernels are plump and the silks have turned brown. This usually occurs about 75-100 days after planting, depending on the variety of corn.
To harvest, simply grasp the ear of corn and gently twist it to break it off the stalk. Be careful not to pull too hard, as this may damage the stalk or remaining ears of corn.
Storing
Fresh corn is best eaten immediately after harvesting, as it loses its sweetness and tenderness quickly. If you have a surplus of corn, you can store it in the refrigerator for up to five days.
For longer storage, you can preserve corn by freezing or canning. To freeze corn, blanch the kernels for 4-6 minutes, then let them cool and place them in airtight containers or freezer bags. To can corn, follow a safe canning recipe to preserve the kernels and their flavor.
Knowing When They Are Ready
To determine if your corn is ready for harvesting, gently squeeze the kernels through the husk. If the kernels are plump and give a milky juice when squeezed, the corn is ready. You can also check the silks, which should be brown and dry, indicating that the kernels are mature.
In conclusion, homegrown corn is ready for harvesting when the kernels are plump and the silks have turned brown, usually 75-100 days after planting. Fresh corn is best eaten immediately, but can be stored in the refrigerator for up to five days or preserved by freezing or canning for longer storage. To know when your corn is ready for harvesting, gently squeeze the kernels and check the silks for maturity.
Growing corn in container – Conclusion
Conclusion
Growing corn in a pot at home is a great way to enjoy fresh, sweet, and delicious corn all season long. With the right pot, soil mix, and care, anyone can grow corn in a small space.
By following the steps outlined in this guide, you’ll be able to successfully grow corn in a pot and enjoy a bountiful harvest. Whether you’re a seasoned gardener or a beginner, growing corn in a pot is a fun and rewarding experience that you’ll enjoy.
So, why not give it a try?
- Start with the right pot and soil mix
- Plant your corn and give it proper care
- Enjoy a bountiful harvest and preserve your surplus