how to grow mini pumpkins in a pot – [Beginners Guide]

Hey there fellow green thumbs! Are you looking for a fun and easy way to bring some autumn charm to your home? Growing mini pumpkins in pots is the perfect solution. Not only are they adorable and versatile, but they also make for a great indoor or outdoor decoration.
As someone who loves to garden, I can personally vouch for the joy of growing mini pumpkins. It’s a wonderful hobby that can bring a smile to your face every time you see your little pumpkins growing. Plus, you get to enjoy the fruit of your labor come fall!
One of the best things about growing mini pumpkins in pots is that it’s incredibly low maintenance. All you need is a pot that’s at least 12 inches wide and 12 inches deep, some potting soil, and a sunny spot. And, if you live in a small space or have limited outdoor gardening space, growing mini pumpkins in pots is a great alternative.
So, if you’re ready to get your hands dirty and learn how to grow mini pumpkins in pots, read on! I’m excited to share my tips and tricks with you, and I know you’ll love the results.
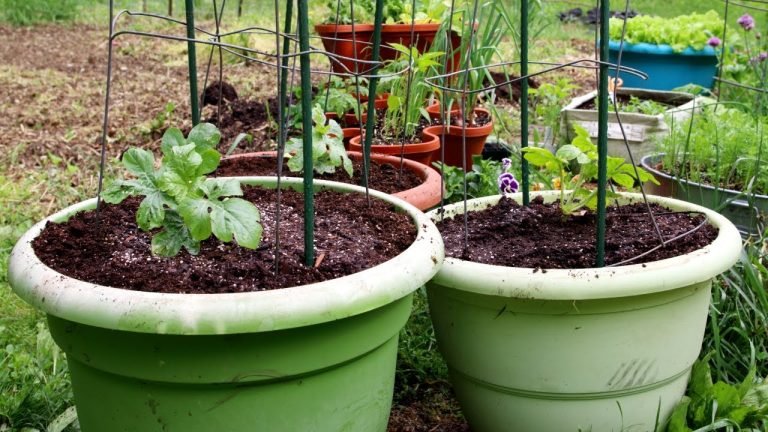
Pot or container selection
Growing mini pumpkins at home requires a pot that is both large enough to provide adequate space for root growth and sturdy enough to support the mature plant and its fruit.
The ideal pot size for growing mini pumpkins is at least 12 inches wide and 12 inches deep. This provides enough space for the root system to develop and the plant to grow. Keep in mind that mini pumpkins can take up a lot of room, so the larger the pot, the better.
When it comes to the construction of the pot, it’s best to choose a sturdy option that won’t tip over or crack under the weight of the mature plant and fruit. Terracotta, plastic, or composite pots with drainage holes are all great options. Just make sure the pot is heavy enough so that it doesn’t tip over in windy conditions.
It’s also important to make sure the pot has good drainage to prevent water from accumulating and causing root rot. You can add a layer of gravel at the bottom of the pot to improve drainage.
By choosing a pot that is the right size and construction, you’ll set your mini pumpkins up for success and enjoy a bountiful harvest in no time.
Make suitable soil mix
The type of soil mix you use is crucial for growing healthy and productive mini pumpkins. A good soil mix should provide the right balance of nutrients, moisture retention, and drainage for optimal growth.
A quality potting mix that is designed for vegetable gardening is the best choice for growing mini pumpkins. It should be rich in organic matter and have a loose, crumbly texture to allow for good root penetration and water drainage.
You can also add compost or well-rotted manure to the potting mix to improve its fertility and water-holding capacity. A general rule of thumb is to mix in about one part compost or manure to three parts potting mix.
It’s also important to make sure the soil has a pH between 6.0 and 7.0, which is suitable for most vegetables. You can test the soil pH with a simple test kit and adjust it as needed by adding sulfur or lime.
By using the right type of soil mix, you’ll provide your mini pumpkins with the foundation they need to grow strong and healthy, and produce a bountiful harvest.
How to plant the mini pumpkins?
Growing mini pumpkins at home is a fun and easy process that yields fantastic results. Here’s a step-by-step guide to help you get started:
- Choose the right pot: As mentioned earlier, you’ll need a pot that is at least 12 inches wide and 12 inches deep, with good drainage. Make sure the pot is sturdy and won’t tip over under the weight of the mature plant and fruit.
- Prepare the soil mix: Fill the pot with a high-quality potting mix that is rich in organic matter, and mix in compost or well-rotted manure for added fertility. Make sure the soil has a pH between 6.0 and 7.0.
- Plant the seeds: Sow the mini pumpkin seeds about 1 inch deep in the soil and cover with a light layer of soil. Space the seeds about 4 to 6 inches apart, as they will spread out as they grow.
- Water the seeds: Water the soil gently after planting to settle the seeds and keep the soil consistently moist, but not waterlogged. You can place a plastic bag over the pot to create a mini greenhouse to help retain moisture.
- Place in a sunny spot: Place the pot in a sunny spot that receives at least 6 hours of direct sunlight each day. Mini pumpkins need plenty of sun to grow and produce fruit.
- Care for the plant: Once the seeds have germinated and the plants are established, be sure to keep the soil consistently moist and fertilize with a balanced fertilizer every 4 weeks. Pinch off the tips of the main stem when the plant has reached the top of the pot to encourage bushier growth.
By following these simple steps, you’ll be on your way to growing a beautiful crop of mini pumpkins in no time!
How to care for mini pumpkins?
Watering Requirements
Adequate watering is essential for growing healthy and productive mini pumpkins. The soil should be kept consistently moist, but not waterlogged, to prevent root rot and other diseases.
It’s best to water the soil deeply and less frequently, rather than watering the surface lightly every day. A general rule of thumb is to water the soil until it’s saturated and then wait until the top inch of soil is dry before watering again.
Fertilizer Requirements
Mini pumpkins need regular fertilization to provide them with the nutrients they need to grow strong and produce a bountiful harvest.
A balanced fertilizer, such as a 10-10-10 or a 14-14-14, is ideal for mini pumpkins. Apply the fertilizer every 4 weeks, following the instructions on the label, and mix it into the soil surface.
Sunlight Needs
Mini pumpkins need plenty of sunlight to grow and produce fruit. They should be placed in a spot that receives at least 6 hours of direct sunlight each day.
If your mini pumpkins are not getting enough sun, they may become leggy and produce less fruit. Move the pot to a sunnier spot, or provide additional light with grow lights if necessary.
Pruning & Training
Pruning and training can help promote bushier growth and improve the yield of your mini pumpkin crop.
When the plant reaches the top of the pot, pinch off the tips of the main stem to encourage lateral branches to form. This will help the plant become bushier and produce more fruit.
Other Care
To ensure your mini pumpkins grow optimally, it’s important to provide them with the right conditions. This includes:
- Keeping the soil consistently moist, but not waterlogged
- Placing the pot in a sunny spot that receives at least 6 hours of direct sunlight each day
- Fertilizing the soil with a balanced fertilizer every 4 weeks
- Pinching off the tips of the main stem to encourage bushier growth
- Removing any diseased or yellowing leaves promptly to prevent the spread of disease
By following these simple care tips, you’ll be on your way to growing a beautiful crop of mini pumpkins in no time!
Common problems
Pests & Insects
Mini pumpkins grown in pots are susceptible to the same pests and insects as those grown in the ground. Common pests include aphids, squash bugs, and powdery mildew.
To control pests and insects, keep an eye out for signs of infestation, such as yellowing leaves or sticky residue on the leaves. You can also use natural methods, such as companion planting and releasing beneficial insects, or chemical methods, such as insecticides, to control pests.
Diseases
Mini pumpkins grown in pots can also be susceptible to various diseases, such as powdery mildew, downy mildew, and verticillium wilt.
To prevent diseases from affecting your mini pumpkins, practice good hygiene, such as removing any dead leaves or plant debris, and providing proper spacing and ventilation for your plants. In addition, if you notice any signs of disease, such as wilting leaves or discolored spots, treat the plant promptly to prevent the spread of the disease.
Poor Production
If your mini pumpkins are not producing well, there are a few factors that could be at play.
- Lack of sunlight: Mini pumpkins need plenty of sunlight to grow and produce fruit. Make sure your plants are receiving at least 6 hours of direct sunlight each day.
- Poor soil quality: Mini pumpkins need well-draining, fertile soil to grow. Make sure your soil has the right composition and nutrients to support your plants.
- Overcrowding: Mini pumpkins need adequate space to grow and produce fruit. Make sure your plants are not crowded in the pot and have enough room to spread out.
Other Issues
Other potential issues that can affect mini pumpkins grown in pots include:
- Over-watering: Mini pumpkins need consistent moisture, but not waterlogging. Over-watering can lead to root rot and other issues.
- Under-fertilizing: Mini pumpkins need regular fertilization to produce a bountiful harvest. Make sure you are providing your plants with the nutrients they need to grow strong and produce fruit.
By staying vigilant and addressing any problems promptly, you can grow healthy and productive mini pumpkins in pots at home.
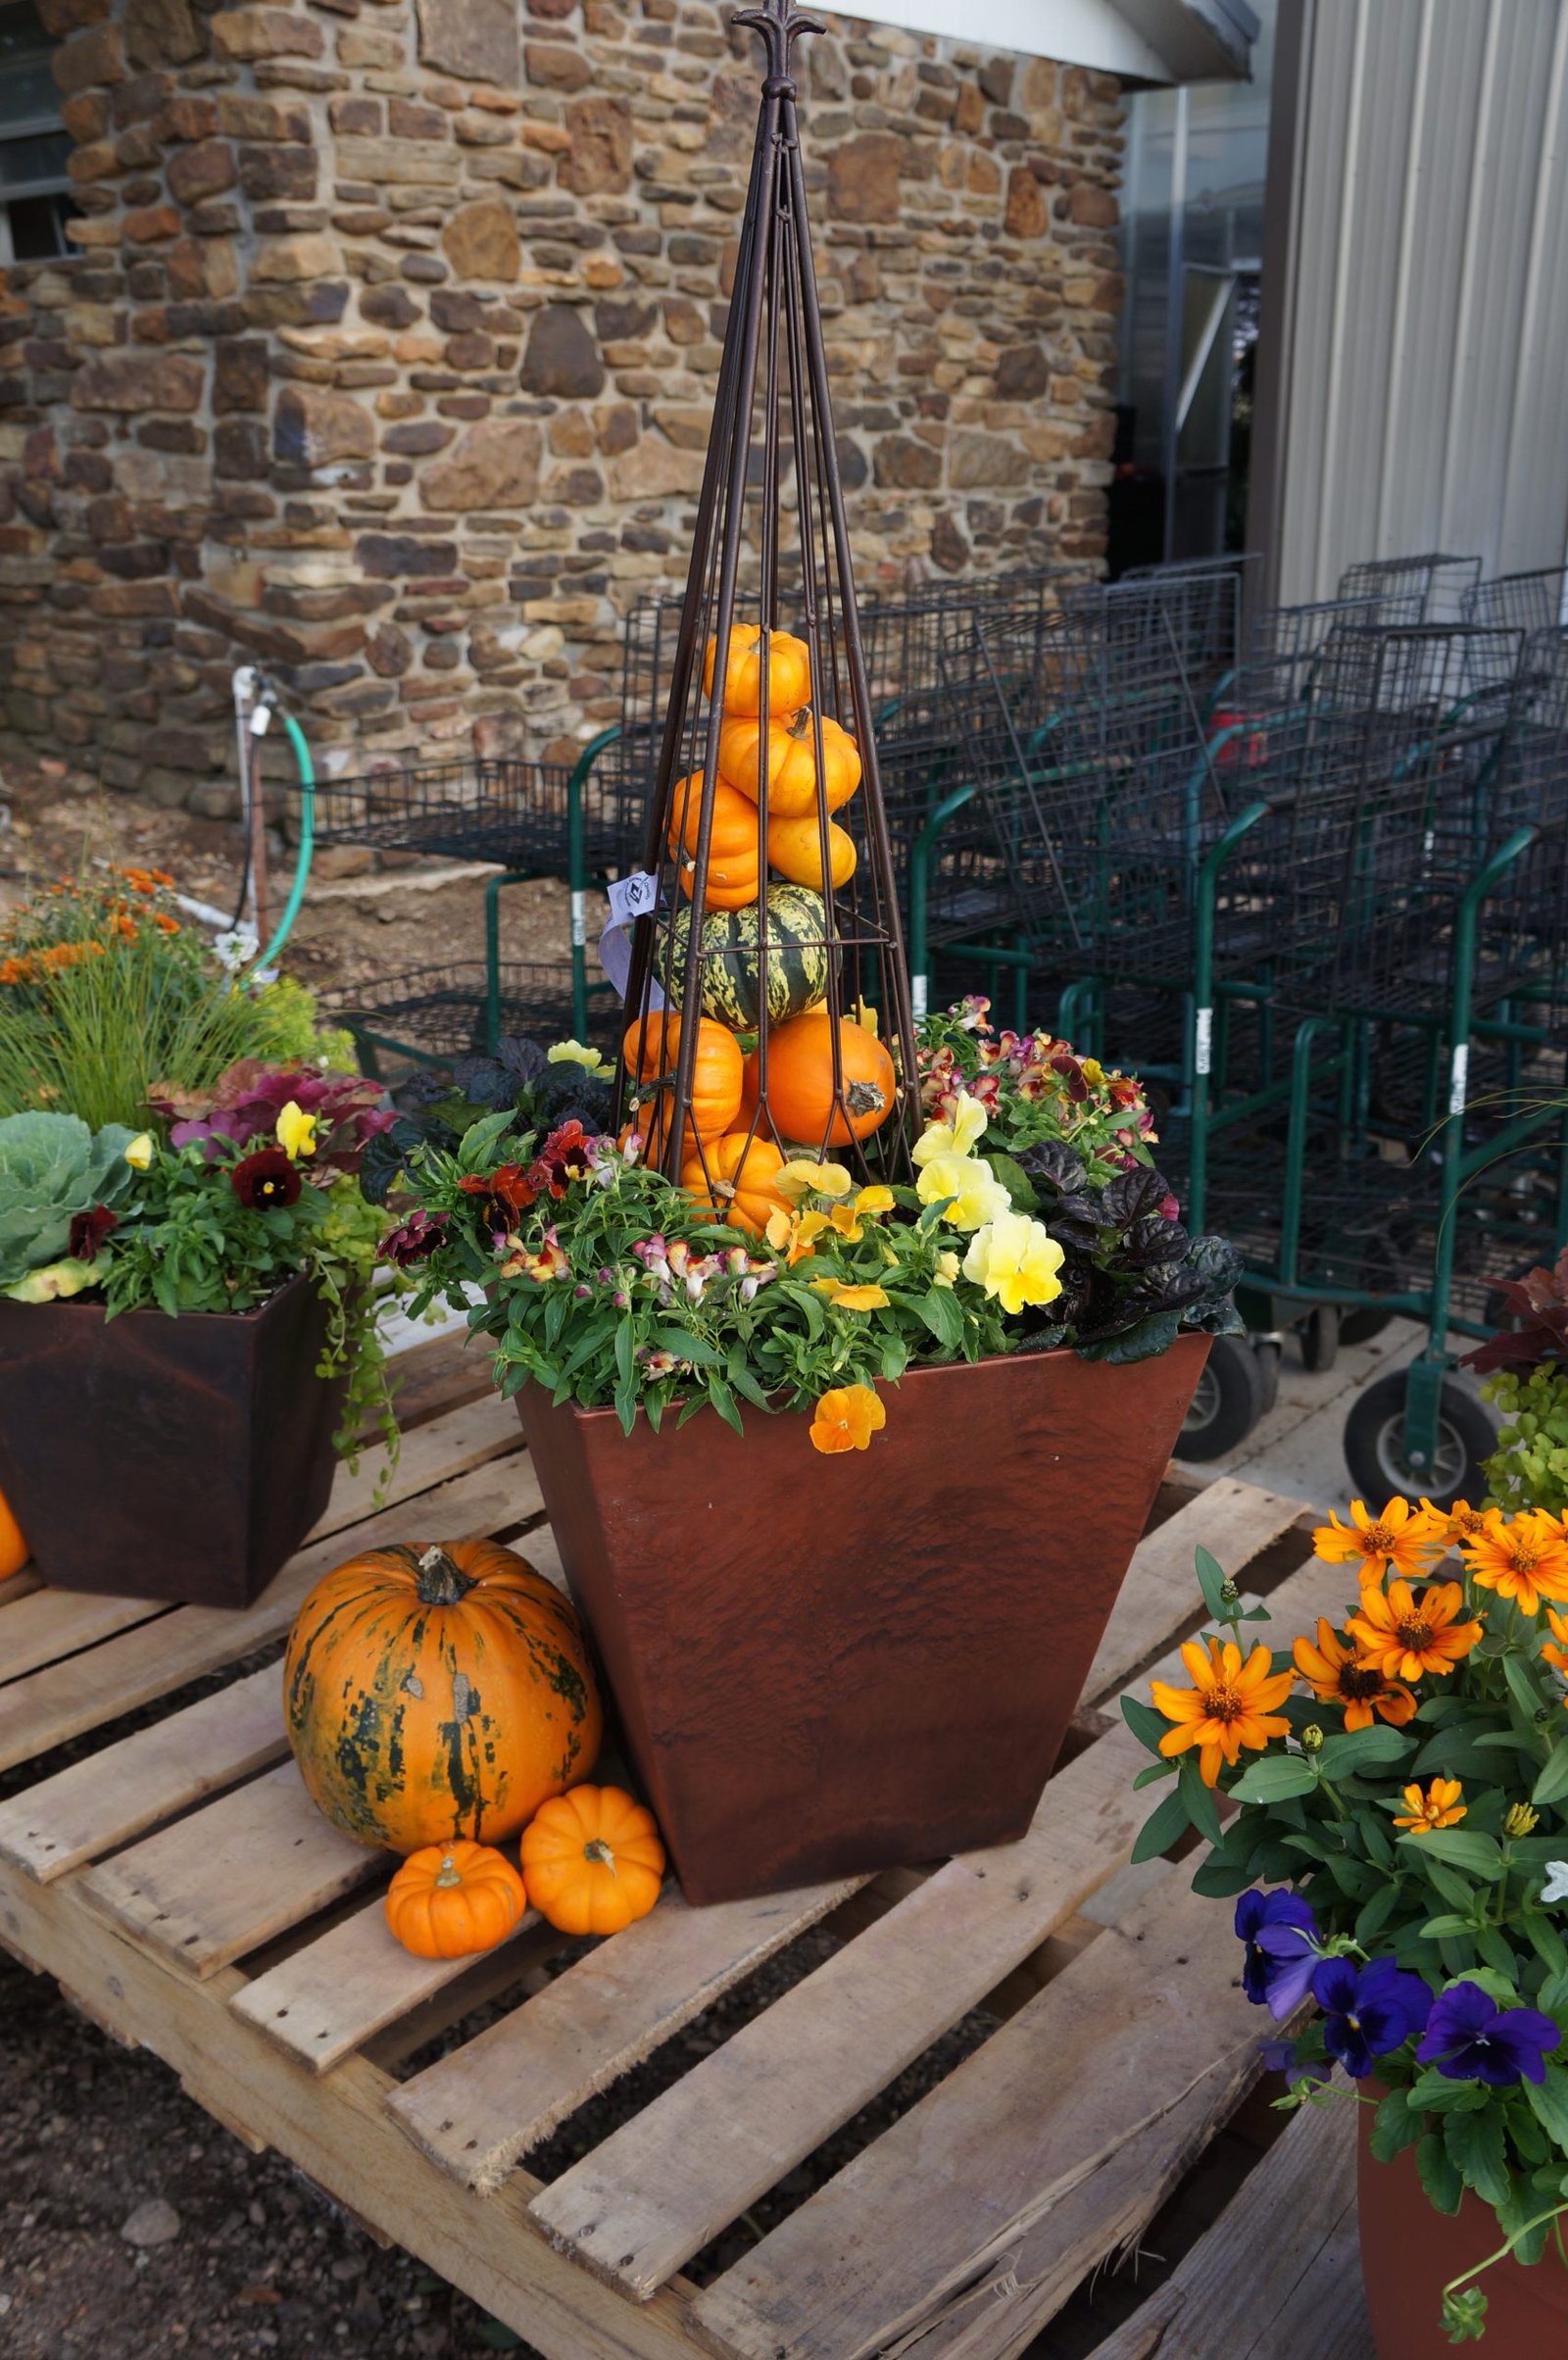
Harvesting & storing homegrown mini pumpkins
Harvesting Mini Pumpkins
Mini pumpkins are typically ready for harvesting when they have reached their full size and the skin is hard and difficult to puncture with a fingernail. The stem should also be dry and brown.
To harvest the mini pumpkins, gently cut the stem with a sharp knife, leaving a stem about 2-3 inches long. Handle the pumpkins carefully to avoid damaging them.
Storing Mini Pumpkins
To store mini pumpkins, place them in a cool, dry place, such as a garage or basement, with temperatures between 50-60°F.
Avoid storing mini pumpkins in direct sunlight or damp places, as these conditions can cause the pumpkins to spoil quickly. Instead, place them in a single layer on a flat surface and check them regularly for any signs of decay or rot.
When are Mini Pumpkins Ready for Harvesting?
Mini pumpkins are ready for harvesting when they have reached their full size and the skin is hard and difficult to puncture with a fingernail. In general, mini pumpkins take between 75-100 days to mature after planting.
To determine if your mini pumpkins are ready for harvesting, observe their skin color and texture, as well as the stem. If the skin is hard and the stem is dry and brown, the mini pumpkins are likely ready for harvesting.
By harvesting and storing your mini pumpkins properly, you can enjoy the fruits of your labor for several months to come.
Growing mini pumpkins in container – Conclusion
Conclusion
Growing mini pumpkins in a pot at home is a fun and rewarding experience, offering fresh and delicious produce right at your fingertips. With the right pot, soil mix, planting and care instructions, you can successfully grow your own mini pumpkins at home.
By following the steps outlined in this guide, you will be on your way to growing and harvesting healthy, vibrant mini pumpkins in no time. Some key takeaways include:
- Selecting the right pot with appropriate size and capacity
- Using a well-draining soil mix
- Planting the mini pumpkins at the correct depth
- Providing adequate sunlight and water
- Using fertilizer and pruning to encourage healthy growth
- Harvesting and storing mini pumpkins properly
We hope this guide has provided you with all the information you need to successfully grow mini pumpkins in a pot at home. So, go ahead and give it a try – you may just surprise yourself with the amazing results!